Showing posts with label christmas. Show all posts

Wednesday, December 25, 2013

Merry Christmas Everyone! Santa Nails for Christmas!

Merry Christmas to all of my readers!! I hope you and your families have an awesome day today!! :D
For Christmas, I'm just going to show you my Santa nails I did last night, since these are going to be the last Christmas nails I post until next year. 2014 is going to be the best nail art year yet! I can feel it!! They are a little bit messy, but hey, it's all about the holiday spirit right?! My Santa looks kind of like a white Papa Smurf but that's okay :D

For these I used:
China Glaze - Just be Claws
Butter London - Marbs
Julep - Nicolette (This is a really awesome white, Chynel doesn't believe me, but I swear it rivals Cotton Buds by Butter London)
Julep - Minnie
Sinful Colors - Black on Black
HK Girl Topcoat! ( The best topcoat ever made, if you haven't tried it, do, because it will change your life!)


I know they're messy and this photo quality is awful but I think they're pretty adorable!!


Merry Christmas & Happy Holidays you guys!
Xx Ashley C. & 2 Girls 1 Blog 
& Tiddle

Tuesday, December 17, 2013

Urban Decay Naked 3

So I am super late when it comes to posting it, but the baby has been driving me up the walls along with Christmas and what not, who cares about excuses lets get down to business. So as soon as they announced the Naked 3, I knew I needed to make room in my wallet and in my Muji. I was so excited!! So they had it up for sale on the Urban Decay website but I like rewards so I waited for it to hit Sephora because I use my Sephora points and I believe I deserve to get some thing for drop loads of cash at their store. So Sephora is my place to go! So the night it was available on their site which I believe was the 6th of December. I placed my order. Like usual it takes two days to get here and it did.

So a little back ground to the Naked Palettes by Urban Decay. They are an eyeshadow palette giving you the option to have a very nude and subtle look or do the complete opposite! They now have 3 different Naked palettes. The first one is a Bronze Gold Neutrals, the Second one is a Taupe- Hued Neutrals, and the Third one is a Rose Gold set of Neutrals. So I absolutely love my first Naked palette, it is so beautiful and I am able to create so many different kinds of looks. I am a very nudey type girl so these palettes definitely scream for my name! The second one is not my favorite, I hardly ever used it so I just gave it to my sister and she loves it. 

So lets do the unboxing first. It comes in a very pretty Rose Gold and Embedded designed box. So below is the front and the back of the box.

So when I take it out of the box, it comes in the same kind of tin that the Naked 2 came in which honestly is a huge disappointment for me. I really hate the tin, to me if feels very cheap and it is not super easy to close like the first Naked design where it was like a magnetic velvet. Although there are some positives to this design, it is harder to break the eyeshadows.... I guess? No I just hate it but it doesn't really matter what the outside looks like what matters is the product inside. So below is what the palette looks like being closed.


So now for the fun part, the inside of the palette. Packed with 12 BEAUTIFUL Rose Gold Neutrals this palette is just amazing. Below is a picture of the entire palette and then I will do closes up of the left side and the right side. 


So the left side contains the colors going L-R, Strange which is a beautiful highlight matte color, Dust which is extremely in my opinion glittery so you have to be careful with her because she will have fallout but if you work with it, she will we be so beautiful! Then we have Burnout, Limit which is another matte which is my favorite for that transitioning blending color, then we have Buzz and Trick. Trick is so freaking beautiful. I think that might be my favorite. 

Now the last six going L-R again, we have Nooner which is another wonderful matte. I like this shadow for the base of my shadow for all over the lid. Then we have this beautiful shimmery shadow called Liar which I absolutely love and kinda want this one to be my favorite only because my favorite Urban Decay Lipstick is called Liar. Then we have Factory which is a beautiful Shimmery Rosey Brown, Then we have Mugshot and I love love love this one. It is a shimmery brown grey and it is just gorgeous! I have used this eyeshadow every single time. It just looks so timeless. Then we have Darkside which is perfect for a light liner look and then we have our beloved Blackheart which is so beautiful, it is a nice smoked black with pretty like dark pink flicks in it. It is nice to have some thing then a traditional black in the palette like usual. 

So lets do some swatching! 
I am going to do the first six L-R and then the last six the same way. 

So above we have Strange, Dust, Burnout, Limit, Buzz, Trick.


And then we have Nooner, Liar (My favorite along with Mugshot, Factory, Mugshot, Darkside and Blackheart.

So you also get a double ended brush with this palette and UD always has pretty amazing brushes. Although I love my bedullium brushes out of all my brushes so this one probably wont be touched unless mine all of my brushes are dirty. And you also got a little booklet of primer samples. Which is a bit of a complaint with me, I really am disappointed that you dont get a deluxe freebie like you do with the rest of the palettes. But back to what I was saying what matters is what is inside of the palette. So I am very happy with this purchase, I absolutely love rose gold eyeshadows so this was a must have. Anyone who already owns the other two Nakeds this is a great palette to add to your collection. They are still extremely buttery and like always you can trust Urban Decay with their products, they are always amazing. If you guys have any questions just comment below! 
Love Chynel Webb! <3


Sunday, December 15, 2013

Christmas Tree Nails Pictorial!

As promised, here is a tutorial for super easy Christmas Tree nails! You can use any colors you want, but I used:
Julep - Rebel
Zoya - Chita (This links to amazon where you can buy the fall '13 pixies for 7.34 with FREE SHIPPING!!!)
Butter London - Marbs
Pretty & Polished - The Amazing Technicolor Topcoat
Seche Vite Topcoat

Start by painting your nails whatever base color you picked. :)  I used Julep Rebel for my base. It's my favorite matte silver holo.
After your base color dries. Apply tape in a triangle shape to whatever fingers you want to add the tree to. You can use striping tape for this as well, but I found that if you get some of the sticky off the regular tape first and stick it on, it's easier since you don't have to worry about painting beyond the stripe tape.

Then paint on your tree. With the tape you don't have to worry about making a big mess.
Let that dry for about a minute then remove the tape while it's still a little wet. Be careful so you don't peel off any of the nailpolish.

Next decorate your tree! I used Butter London Marbs to add on zig zags and added a little gem to the top for a star. :)
Then, If you want you can add some glitter so it looks like there are ornaments, and add your topcoat to finish them off! :)

That's all there is too it! Easy right?! I hope you enjoyed this tutorial and as always make sure and like us on Facebook and follow us on here so you don't miss any posts! :)

Happy Holidays!
Xx Ashley C.

Thursday, December 5, 2013

Julep Maven December Glitterati Collection Unboxing!

I am thrilled to say that Julep finally has an option to upgrade to an ONLY polish option. I've never upgraded in the past because I never 100% LOVE all of their beauty products, so when I saw this month's box full of glitter beauties PLUS a polish only upgrade, I jumped at the chance.

For those of you who have never heard of Julep before, they are an independent nail polish company that offers a monthly subscription box with various "style profile" options tailored to your tastes. The box costs $19.99 a month for either two polishes and a beauty product, two beauty products, or three polishes. I love Julep because they give you the option to skip entirely if you don't like the collection. They also now offer Polish only upgrades for $44.99 in which you get all 9 colors! :) I think the regular upgrade is 50$.
Check them out if you love polish like me! And use my referral link HERE, so they know I sent you!

Who's ready for some swatches!?! My apologies in advance for the photo quality. I was so excited when I got my box that I didn't charge my phone and my flash stopped working halfway through the polish!
Everything was boxed up really nicely this month! The new boxes are super cute, although I think they're a waste of paper. It also came with a 40% off code and 2 twistband hairties. I will wear them as bracelets only.
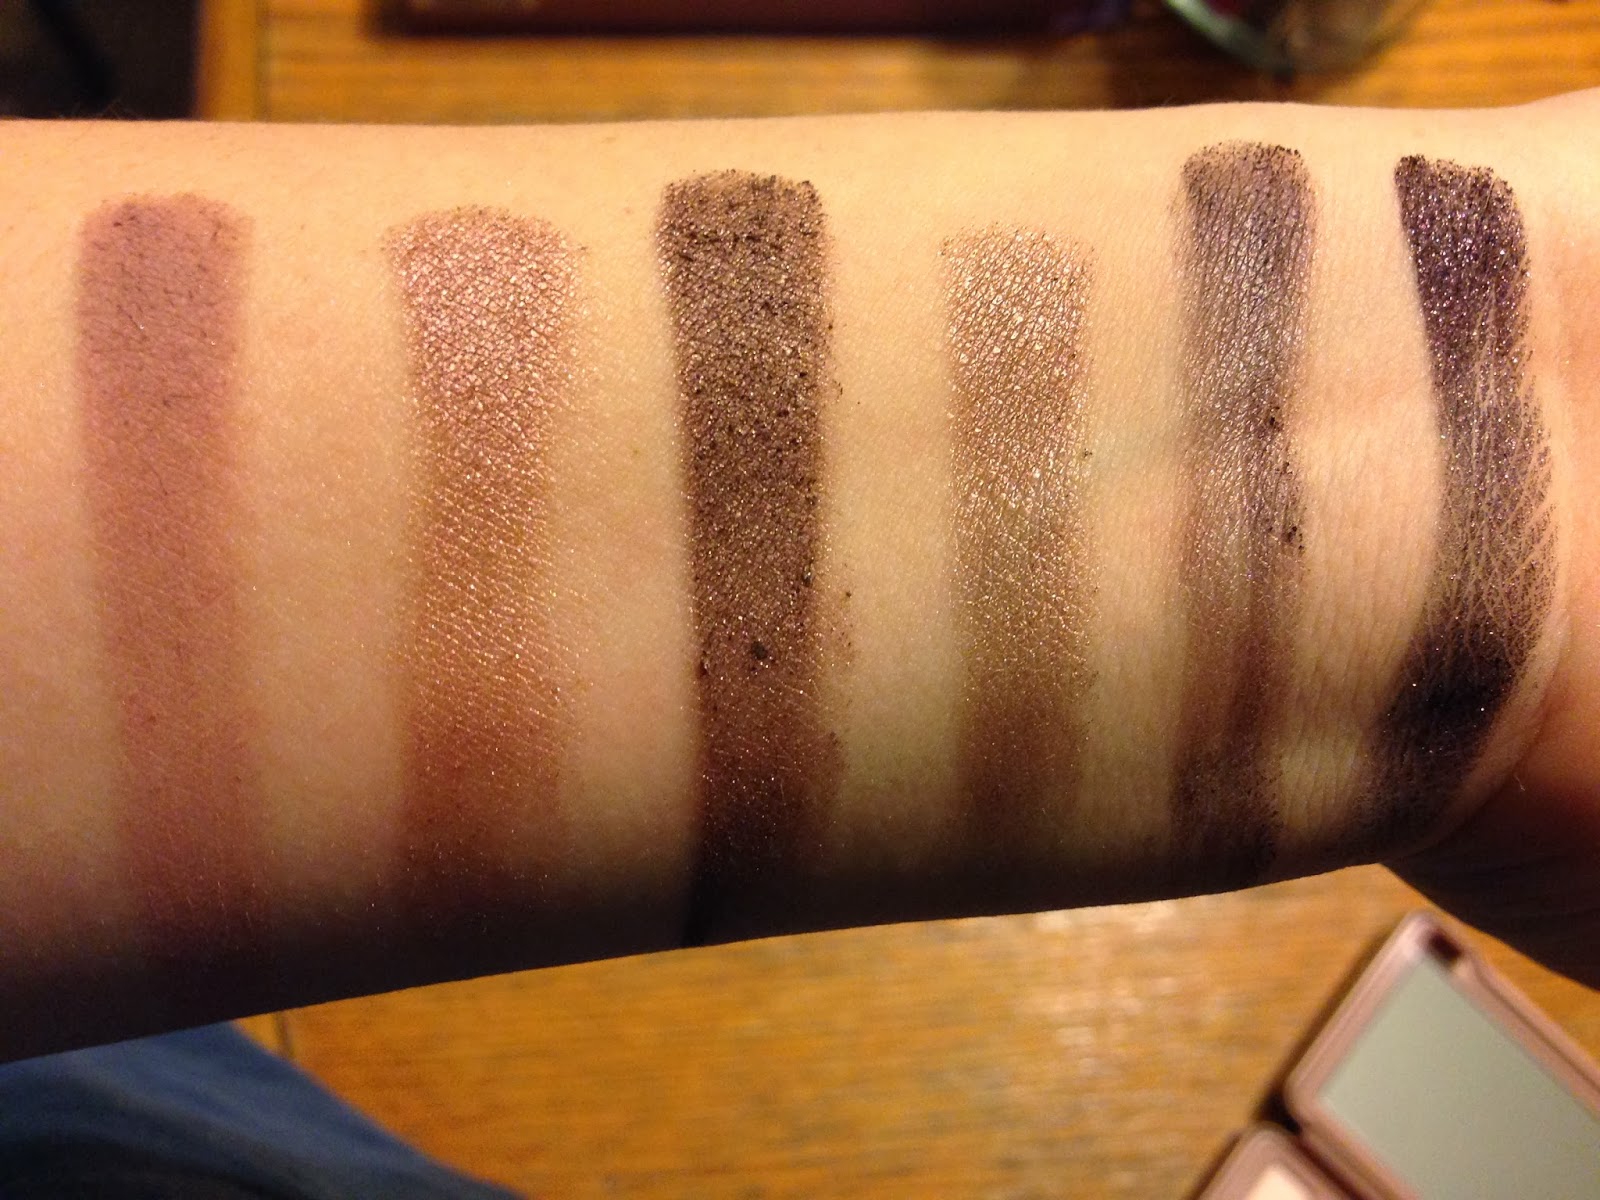
From left to right:
Mia, Jillian, Cara, Celia, Evelyn, Shoshanna, Andrea, Joelle, Misti

I'm going to describe Cara and Evelyn for you because I sold/traded them and I forgot to take pictures of the bottles first :/
Cara - I thought this was going to be a pink shimmer polish. That's what the Julep swatches looked like. However, it looks pink in the bottle but it's actually a really nice red frost color. Julep describes it as a "cranberry frost".
Evelyn - A "Magenta purple cream". I'm so tired of Julep's cream polish. This color was so/so for me. It's a nice color if you don't already have a bunch of purples I guess.

First up is Misti. It's a pretty smokey blue cream that will be perfect for more snowmen. This is two coats over my existing Rebel for full opaqueness.

Meet Jillian. This is supposed to be a "deep eggplant with bronze molten" I think it's more brownish red.
To me it looks like a dupe of Sephora by OPI I'm with Brad
It went on amazingly though. That swatch is just one coat over my existing polish.
This is two coats of Joelle over my Rebel. This is the most amazing silver holo full coverage glitter. I am absolutely in love with it. 
This is Shoshanna. I will have to wear it this weekend and post another picture because this does it no justice. It's a beautiful yellow full coverage holo glitter filled with green and red glitters as well. Love it!
EDIT: Here's an additonal photo of Joelle and Shoshanna over Julep Nicolette for your viewing pleasure.


I love these colors! Not so much over the white but this is a much better picture to give you an idea of what they really look like!
Andrea is a really pretty full coverage bronzey/gold color. This is two coats over Rebel. Went on really nicely for a full coverage and wasn't too difficult to take off!

EDIT: On my ring finger and thumb is Andrea in all it's glittery glory. I love this color so much it isn't really bronze to me, definitely more gold, but it is absolutely beautiful!
This is Mia. I'm not totally amazed. It reminds me of if Julep Stefani and Zelda had a baby. It would be this polish. It's supposed to be a greenish silver, but I only see silver.

EDIT: As it turns out, I used Mia again and it is actually a pretty greenish silver color. What I love the most about it, is how metallic and wonderful it is. This is Mia paired with Shoshanna on my thumb and ring finger. LOVE THEM!
Saved the best for last!! This is Celia. It's an amazing Green metallic that is perfect for winter and christmas. This picture is just ONE coat if you can believe that!

And here are my nails. Using Celia with Joelle on top and Rebel for the Christmas Tree. :)
And here's a bonus mani picture of what they looked like before I did the swatches. :) That's Rebel. It's my favorite.

Again, sorry for the lame pictures. I will take better ones I swear. What colors did you get this month??? Love or hate them?!
Until next time,
Xx Ashley C.

Saturday, November 30, 2013

Snowmen Nail Pictorial!

So I did these nails about a week ago and have been putting off posting them because they aren't as awesome as I wanted them to be. But here is a tutorial anyway! They were pretty easy to do as far as nail art goes, and you only need a couple of tools to accomplish these.

You will need:
Large dotting tool
A brush suitable for tiny details on your snowman & snowflakes
A small dotting tool or toothpick for little snowflakes
Makeup sponge
Whatever colors you want to use

Start by painting your nails a light blue color. I used Cinderella by Sinful Colors. I had to do like 4 coats because this is a pretty transparent color, but it was my only light blue.

Next I decided to add an gradient with purple just to make them a little bit prettier. This is actually really really easy to do, and all you need is a triangle makeup sponge!! I used Sally Hansen's Purple Pizazz which is a purple Jelly color with lots of shimmer. Paint on the two colors you are using on the sponge like THIS:
Then you gently apply it to your semi dry nails starting at the side and over and over until you get the brightness you are trying to achieve. Here's what my looked like when they were completed:
The next step is to apply your snowman. Start by placing a large dot on your nails like this:
Then add the bottom of the snowman near the tip of your nail. It doesn't have to be perfectly round.
Next, add the top snowball part of the snowman like this:
Next paint on your snowman's buttons, face, hat, nose, arms, and even a scarf if you want! I thought mine was pretty cute with a red scarf. :)
Almost done!!! Next, I decided to add some snowflakes and glitter, just to make them a little bit more "wintery". :) You don't have to do this though. After you're done with that, add a topcoat and that's all there is to it!!! I used Julep's Portia for the glitter.
I think my snowflakes look horrible, sorry. LOL But that's okay :) There you have it! Super easy snowman nails for your holiday season!

What holiday nails should I do next??? I was thinking maybe Santa nails or something... I'm running out of ideas already! :D

Until next time, Don't forget to follow & like us on Facebook!
Xx Ashley C.

Sunday, November 24, 2013

Christmas Lights Nail Pictorial!

This year I am feeling unusually festive. I've already decorated my house with Christmas lights, and have been pinning Christmas nails and crafts like a mad woman. I know it's not even Thanksgiving yet, but I've already done my Thanksgiving nails for the year, and I can't think of anymore to do. Don't worry I'll show you those in a minute. :) It's freezing in Tennessee today and it already feels like winter so why not get a head start!! Christmas nails are my favorite to do and there's endless possibilities!!! Here is a simply, three step tutorial for some ADORABLE Christmas light nail art.

But first, here's my turkey Thanksgiving nails for your viewing pleasure.

On to the Christmas lights! For this mani I used:
The first step is to paint all of your nails white. I tried to pick a nice opaque white with little to no shimmer. Next, I went ahead and added a coat of my fast dry topcoat to make the nails dry enough to start painting on the lights! I also went ahead and cleaned them up to ensure there would be no bleeding of the colors together from the remover in cleaning up later.


The next step is to paint on your string that the lights are going to painted on. I picked black for this, but green would also work if you're looking for a more traditional Christmas light feel. I used the thinnest brush in my collection that I could find. I also saw on Pinterest that you can use a piece of thread for this to make a really thin string of lights. You just place it where you want while your nails are still tacky and trim it then put a topcoat on to hold it in place.  


Next, use a small brush, dotting tool, or even a toothpick to carefully paint on the lights. I used a toothpick that way I could get a tiny triangular shape for the lights. It allows for precision and I think if you're a beginner it would be your best bet. The best part is you can pick any color you want! You can do just red and green, or multicolored lights like I did! Just make sure and alternate the colors you're using. I painted on one color at a time. I used red, blue, green, and yellow. Sorry for the bad quality photo. My camera was not cooperating. :( Once you're done with that, add on your favorite topcoat and you're done!

And that's all there is to it! Super easy, Super cute nails for Christmas!
Here's a picture of my favorite one! :)

Hope you guys enjoyed my tutorial!!! I think these nails are super cute and I will definitely be trying them again with different variations and hopefully a little less mess. Until next time!

Xx Ashley C.